Back to Asset Essentials Main Menu
Asset Essentials provides you with a hierarchy of fields, including Regions, Sites, and Locations, to define your organizational structure. You may or may not use all fields in your account. Your organizational structure identifies where work is performed, as well as where Assets and Parts are housed. *Note: Only clients with Asset Essentials Enterprise have access to add multiple Sites. Asset Essentials accounts will not be able to add any additional sites. If you are interested in purchasing Asset Essentials Enterprise, please contact your Sales Representative or Client Services.

How to add a site
A site typically represents a place where work is performed. A manufacturing facility in a specific city may be a site. There are many cases where an organization might have an annex, auxiliary site, or subsidiary location. From an organizational point of view, when those auxiliary sites are managed by the same group as the 'main' site, it is still best practice to consider this one Site with multiple Locations.
- Click on the Admin menu icon, and then click Sites.
- Click the New button.
- Fill in the appropriate information in the following sections.
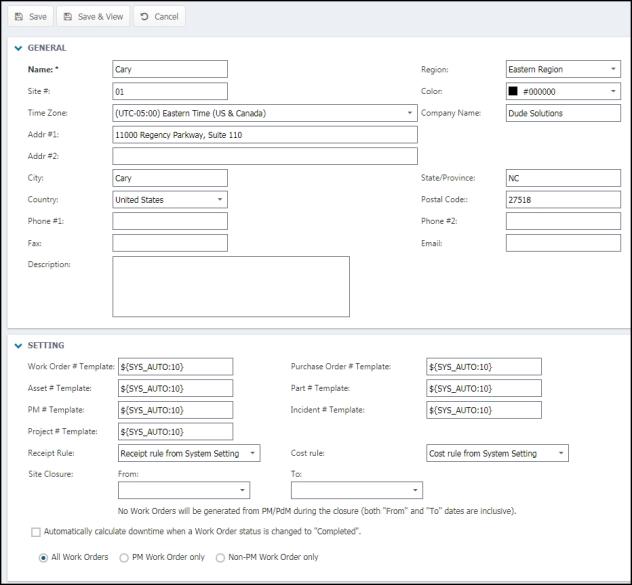
General
- Enter the Name of the Site.
- The rest of the fields in the General section are optional, however it is recommended to provide as much detail as possible.
Setting
- These number templates set the default number of digits for items such as Work Order #, Purchase Order #, Asset #, Part #, etc. For example, ${SYS_AUTO:10} will set the number of digits to 10. Change the 10 to another number if you want to increase or decrease the number of digits for these templates.
PM exclusion conditions
Site closure
You can use this section to indicate a time range that will halt all PM work order generation for a specific site. The next PM work order generation will take place on the next scheduled cycle after the site closure date has passed.
- Enter the dates the site will be closed using the From and To fields in the PM Exclusion Conditions section.
- Click Save at the top of the page.

PM exclusion conditions
You can use this section to apply PM Exclusion Conditions created at the account level to the site in order to halt PM work order generation for a specific amount of time.
- To apply all active PM Exclusion Conditions to the Site, check the Apply all account level exclusions box.
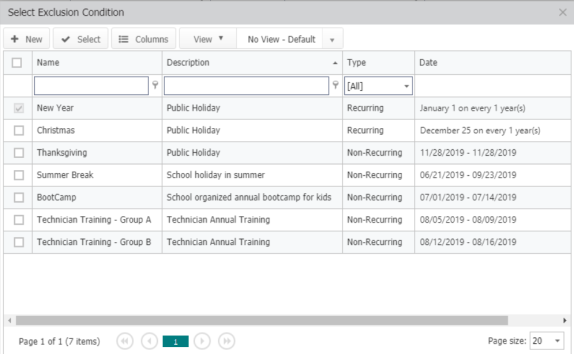
- To apply specific PM Exclusion Conditions to the Site, click the Select Exclusion Condition icon (
).
- Check the box next to the PM Exclusion Condition(s) you would like to apply to this Site.
- Click Select at the top of the window.
- Click Save at the top of the page.
- Click OK in the confirmation window that appears to finalize your changes.
Addresses
- Enter the Billing Address and Shipping Address for this Site. If either address is the same as what you typed in the General section, check the box next to Same as the Site Address.
Accounts/ Quota
- This section allows you to limit the number of licenses, per user type, who can be assigned to this Site. For example, if you enter a Quota of 20 Full User licenses, then a new full user will not be able to be assigned to this Site once the limit of 20 has been reached.
Assigned to
- Use this section to indicate who is responsible for the Site. Use the Select User or Select Me icons at the top to either select yourself or another user whose information is already populated in Asset Essentials. This will automatically assign a work order at this site to the selected users if the Work Order template has been set up to assign from the Source Asset/Location/Site. *Note: Automatic assignment is only available to clients who have purchased Asset Essentials Enterprise.
Documents
- Use this section to attach documents related to your Site. Click on the Select Document icon to either select a document from the Documents Library, or add a document from your computer.
- Click Save at the top of the screen.